
Putting in new glass sliding doors is so much more than a simple home improvement job. It's about completely changing the feel of a room, flooding it with natural light, and creating a beautiful, seamless link to your garden or patio. Think of this guide as your starting point for that transformation, walking you through everything from the first ideas to the finishing touches.
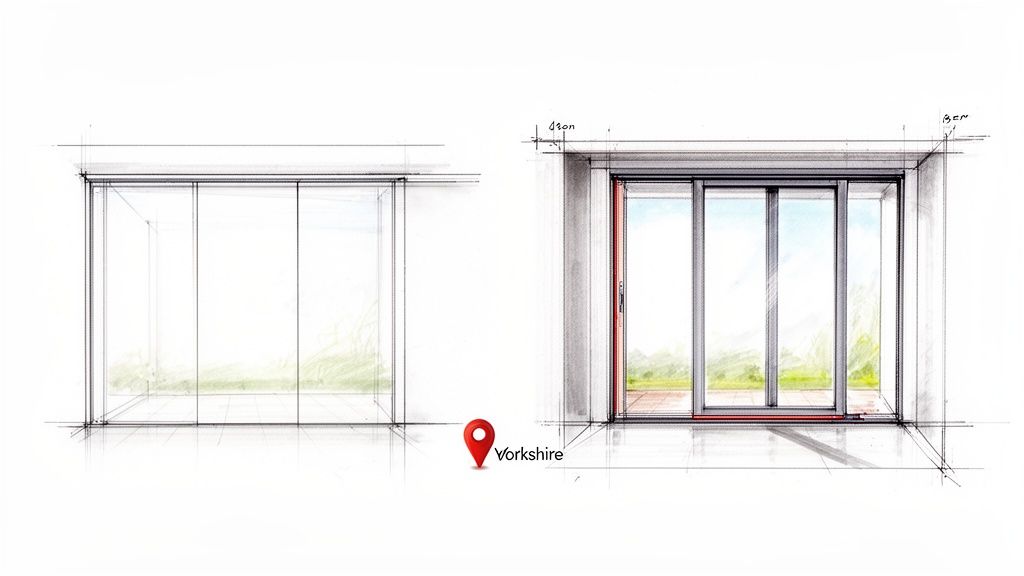
Before you even think about picking up a tool, getting the groundwork right is absolutely crucial. A bit of careful planning at the beginning sets the tone for the whole project and makes sure the final result doesn't just look stunning but adds real, lasting value to your home. The first big decisions usually involve figuring out the scale of the work and deciding on an installation approach.
This first step is all about exploring the different styles out there and picking one that really suits your home’s character. You’ll want to weigh up your options carefully.
The style of door you choose can have a massive impact on the look and feel of a room. For a modern flat in Leeds or Newcastle, a super-sleek, frameless design can nail that minimalist aesthetic. On the other hand, a family home in York might be better served by a robust, thermally efficient aluminium frame that offers brilliant durability and top-notch insulation.
Here are a few popular options to consider:
It’s not just about the frame; the type of glass you choose is a critical decision. Your options range from standard double glazing right up to high-performance triple glazing, which gives you much better thermal and acoustic insulation. This choice will directly affect your home's energy efficiency and your heating bills.
Just as important is getting your head around local planning permissions. This is especially vital for homeowners in Yorkshire's many conservation areas, where there are often very specific rules about any changes to a building's exterior. A bit of homework now can save you from major headaches and delays down the line.
Proper preparation is the secret ingredient for a stress-free glass sliding doors installation. I always tell my clients to think of it as a pre-flight checklist; getting everything right before you start is what guarantees a smooth project. Honestly, this groundwork is just as critical as the fitting itself, and it’s where you can sidestep the common pitfalls that lead to headaches and extra costs down the line.
It all kicks off with the most important job of the lot: measuring your opening with precision. Being out by just a few millimetres here can throw a real spanner in the works, so there’s no room for guesswork. A simple mistake could mean the frame doesn't fit, causing frustrating delays and unexpected bills.
To get this spot-on, you need to measure the width and height of the structural opening in at least three different places. For the width, check it at the top, in the middle, and then again at the bottom. Do the same for the height – measure on the left, on the right, and in the centre.
Here’s the key: always use the smallest measurement for both the final width and height. This ensures your new door frame will actually slide into the opening without being too tight. Believe me, it’s a lot easier to pack out a small gap than it is to try and force a frame that’s too big.
As a rule of thumb, I always deduct 10mm from both the final height and width measurements. This creates a small but vital tolerance gap around the frame, making it much easier to get it perfectly level and secure before you seal it all up.
With your measurements locked in, it’s time to prep the work zone. A clear space is a safe space, simple as that – both for you and for any professionals on site. Start by moving all furniture, rugs, and any ornaments well away from the area, both inside the house and out.
Protecting your flooring is non-negotiable. Get some dust sheets, cardboard, or even proper floor protectors down to cover the immediate area. It's also vital to create a clear walkway. If you’re in a terraced house in Hull or a semi-detached in Newcastle, think about the access route from the street to the back of the house – make sure it’s completely clear and unobstructed.
Having every tool and all your materials ready to go before you start is a game-changer. It stops you from having to down tools mid-job and keeps the whole project flowing smoothly. Even if you're hiring a professional team (who will bring their own kit), knowing what's involved gives you a much better understanding of the work.
Before a single screw is turned, a well-prepared installer will have their toolkit laid out and ready. It’s a sign of professionalism and makes the entire process far more efficient.
| Category | Essential Items | Expert Tip |
|---|---|---|
| Measuring & Levelling | Tape Measure, Spirit Level (long), Pencil | A laser level can be a huge time-saver. For wide openings, it’s the best way to be absolutely certain the frame is perfectly plumb and level. |
| Fixing & Securing | Power Drill, Masonry Drill Bits, Frame Fixings | Make sure you use fixings designed for your wall type (brick, block, or timber frame). Using the wrong ones can seriously compromise the entire installation. |
| Sealing & Finishing | Silicone Sealant Gun, Weatherproof Silicone, Foam Filler | I always recommend a high-quality, low-modulus silicone sealant. It offers much better flexibility and durability against the unpredictable UK weather. |
This kind of prep, drawn from over 20 years of fitting doors across the North, means that when your new doors arrive on-site, you’re ready to go with complete confidence.
Right, let's get to the main event – the actual installation. This is where all that careful prep work pays off. Whether you're a keen DIYer ready to get stuck in or you just want to know what the professionals are doing, understanding the workflow takes the mystery out of the whole project. It’s all about precision, patience, and a keen eye for detail.
The first, and most critical, stage is getting the structural opening spot on. It's not enough for it to be the right size; it has to be perfectly square, level, and plumb. Trust me, any errors here will cause massive headaches later on, affecting how the door slides, sits, and seals against the weather. For our jobs in Hull and Newcastle, we spend a good chunk of time on this foundational step because it dictates the quality of the entire fit.
This little diagram breaks down the essential prep before the frame even gets near the opening.
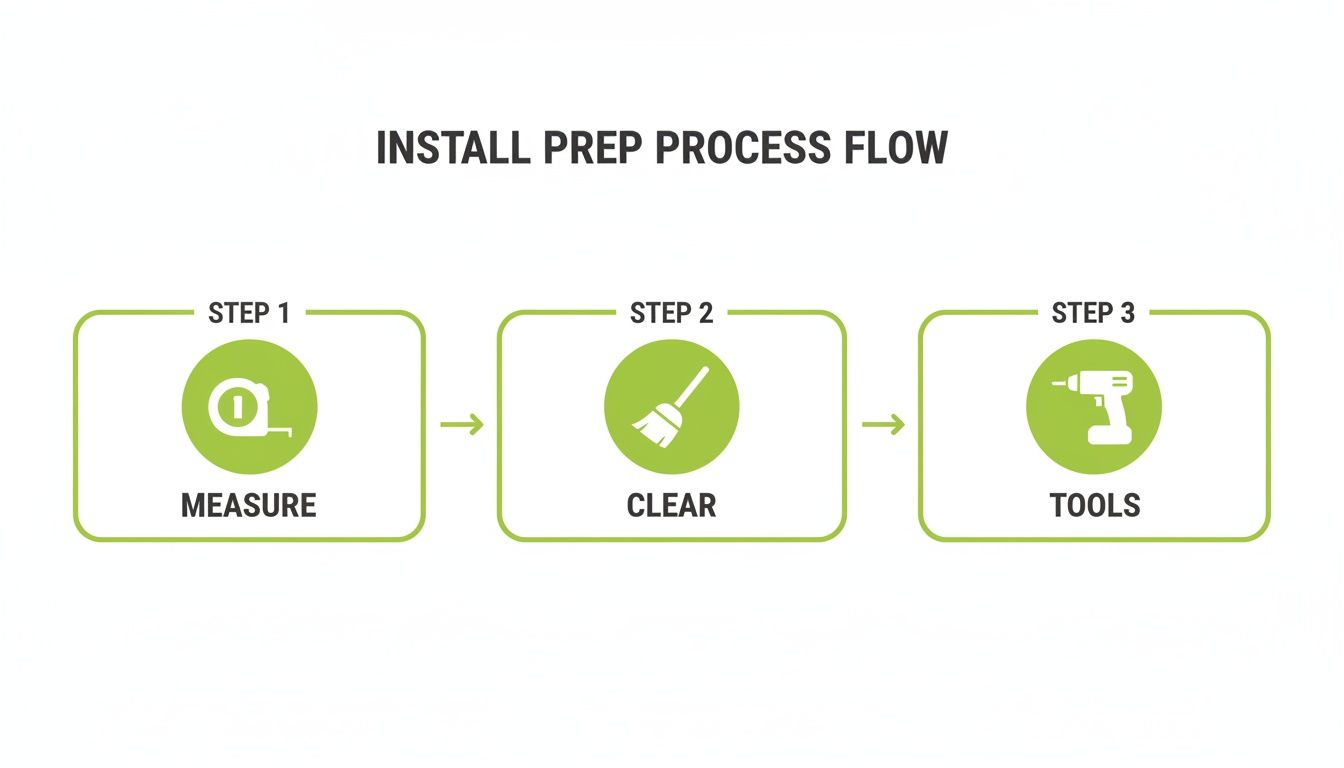
As you can see, a successful installation is planned out long before you pick up the door. It starts with meticulous measuring, followed by clearing the workspace and getting your tools organised and ready to go.
Once we’ve confirmed the opening is sound, the outer frame is carefully placed inside. This is a bit of a balancing act. We use a combination of plastic packers and shims – small wedges that allow for tiny adjustments – placing them strategically around the frame to get a consistent gap on all sides.
A spirit level is our best friend at this stage. We’re constantly checking that the frame is perfectly vertical (plumb) and horizontal (level). Even being a few millimetres out can cause the sliding panels to stick or not lock properly. Once we're happy with the alignment, the frame is secured into the surrounding wall with specialised frame fixings, drilled at the intervals recommended by the manufacturer.
A classic rookie mistake is to overtighten the fixings. This can actually bend or distort the frame. You want them snug enough to hold everything securely, but not so tight that they pull it out of shape. We always get the spirit level back out to double-check after tightening each fixing.
With the frame solidly in place, it’s time for the stars of the show: the glass panels. These are seriously heavy and awkward, so they demand careful handling to avoid injury or damage. We typically install the fixed panel first, then lift the sliding panel onto its tracks.
The real finesse comes in adjusting the rollers. These are small wheels, usually at the bottom of the sliding panel, that can be tweaked with a screwdriver. This adjustment raises or lowers each side of the door, making sure it glides smoothly and meets the frame squarely for a perfect, airtight seal.
Next up are the handles and the multi-point locking mechanism. This involves carefully aligning all the components, drilling pilot holes, and securing the hardware. A properly installed lock should engage with a satisfying click, without you having to force the handle. For homeowners looking to tie everything together, exploring different options for glass doors and walls can give you great ideas on how hardware choices really influence the final look.
The final step is arguably one of the most crucial: sealing the door. This is what stops draughts and water from getting in, protecting your home from the British weather. We apply a high-quality, low-modulus silicone sealant neatly around the entire exterior where the frame meets the wall.
Getting a clean, professional-looking bead of silicone takes practice. The trick is to apply steady pressure and move at a constant speed. Any excess is then smoothed off with a special tool (or a wet finger, if you know what you’re doing!) for a flawless finish. Once it's all sealed, we do one last check for draughts before giving the glass a final clean, leaving you with a perfect, fully functioning new sliding door.
Getting your glass sliding doors installation right is about more than just a perfect fit. It’s about making sure the whole project is safe, secure, and completely in line with UK law. While building regulations can seem like a bit of a maze, they’re there for a good reason – to protect you and ensure your new doors perform beautifully for years to come.
These rules aren't just bureaucratic hurdles. They cover crucial aspects of performance and safety that directly impact your home's comfort and your family's well-being. Getting this right is a non-negotiable part of the process, particularly for homeowners in cities like Manchester or Nottingham where standards are rightly kept high.
While there’s a lot of detail in the rulebook, a few key parts of the building regulations have a direct impact on your new sliding doors. Getting your head around the basics will help you have a much more productive chat with your installation team.
Here's a quick rundown of the main areas:
Any glass in a door, or any glass that’s at a low level, must be safety glass. This is to prevent horrific injuries if it were to break. In residential projects, you’ll typically see two types:
Your installer should always be clear about which type of safety glass is being used and confirm it’s right for the job. For ground-floor sliding doors, either type provides excellent protection, though laminated glass also gives you an extra layer of security.
The demand for high-performance, energy-efficient glazing is driving huge growth in the UK market. In fact, Europe's sliding patio glass door market is set to expand from USD 578.8 million in 2025 to a massive USD 1,088.3 million by 2035. The UK is a huge part of this, holding a 21.5% share in 2025, with renovation projects in cities like Manchester and Leeds pushing things forward. This growth really shows how much people value the proven thermal performance and weather resistance of modern sliding doors. You can dive deeper into the full findings on sliding door market trends to learn more.
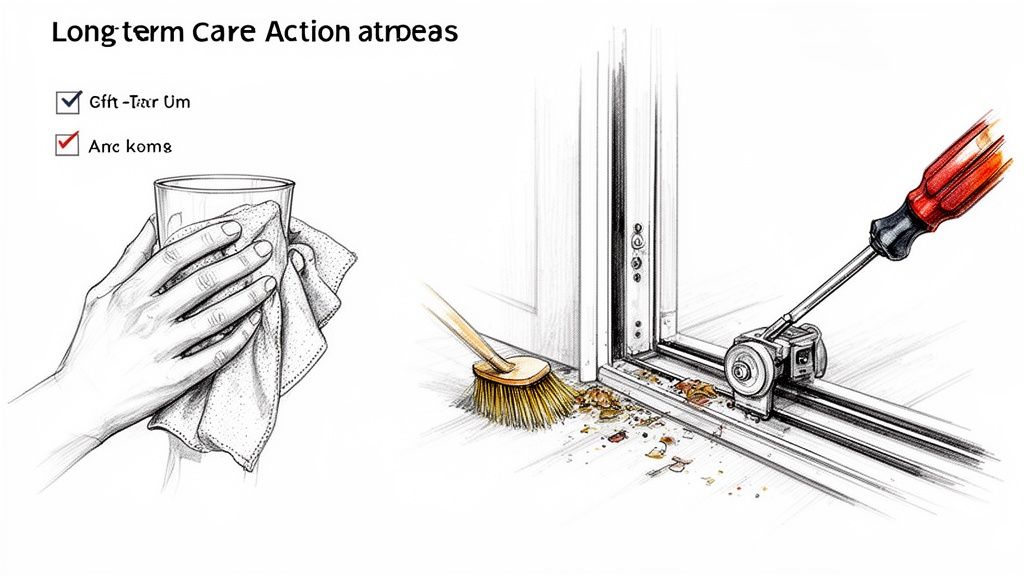
Now that your new glass sliding doors are in place, the real secret is keeping them that way. A little bit of simple, regular care is all it takes to make sure they glide effortlessly and look fantastic for years. Think of it as protecting your investment and stopping tiny issues before they turn into bigger headaches.
Honestly, a bit of aftercare goes a very long way. The number one culprit behind a stiff or noisy sliding door is simply a build-up of dirt and grit in the tracks. If you let that sit, it will grind away at the rollers and make using your beautiful new doors a real chore.
Maintaining your doors is refreshingly straightforward. All you need is a quick clean every few weeks and a more thorough check-up a couple of times a year.
When it comes to the glass, stay away from abrasive cleaners or scourers. A simple mix of warm water with a few drops of washing-up liquid, applied with a soft microfibre cloth, does the job perfectly. For that professional, streak-free finish, grab a squeegee to clear the water off, then dry the edges with a clean, lint-free cloth.
For the all-important tracks and rollers:
And don't forget the locks. To ensure your doors remain secure for the long haul, you might want to look into professional general locksmith services for expert advice on lock maintenance and upgrades.
A fantastic tip for keeping the tracks lubricated is to use a silicone-based spray. Unlike oil-based lubricants like WD-40, silicone won't attract dust and dirt, which can quickly create a sticky mess. A quick, light spray directly onto the rollers is all you need to keep them gliding smoothly.
Every so often, it’s worth giving the weather seals around the frame a once-over. Check for any signs of cracking, shrinking, or peeling away. Damaged seals can let in draughts and water, hitting your home’s energy efficiency hard. If you do spot any issues with the glass itself, like chips or cracks, our guide on professional glass replacement services has some useful insights.
It's clear that homeowners are taking this seriously. The UK glazing market is forecasted to be worth a huge £2.35 billion by 2026, largely driven by the push for more energy-efficient homes. This trend shows just how much people in areas from Yorkshire to Newcastle value high-performing, well-maintained installations. You can find out more about the UK glazing market's future on kjmgroup.co.uk.
Making a big change to your home, like putting in new glass sliding doors, naturally brings up a lot of questions. We get calls every week from homeowners across Yorkshire, Newcastle, and beyond who are trying to get a clear picture of what's involved.
Getting these details sorted out early on is the key to a smooth project. It helps you understand the budget, the timeline, and the real-world practicalities before a single tool is lifted. Here are some of the most common queries we help people with.
This is usually the first question, and the honest answer is: it varies quite a bit. The final figure really depends on the size of the door, the frame material you go for (like sleek aluminium or practical uPVC), and the type of glazing you choose—double or even triple. How complex the job is plays a big part, too.
For a standard supply-and-fit project here in Yorkshire, you could be looking at a range from £2,000 to over £7,000 for the more high-performance, bespoke systems. My best advice? Always get a detailed, itemised quote that covers everything, including the crucial job of removing and disposing of the old door and frame.
Yes, you certainly can, but this is a major structural undertaking and definitely not a DIY job. It involves creating a brand-new opening from scratch and installing a heavy-duty steel lintel to carry the weight of the wall above.
This kind of work falls squarely under UK Building Regulations and will almost certainly need a structural engineer to sign off on the plans. We handle this type of project all the time for clients in Leeds and Manchester who want to knock through and create those incredible, light-filled open-plan spaces.
Creating a new opening in a load-bearing wall is serious business. The structural integrity of your home is on the line, so bringing in professionals is non-negotiable for both safety and legal compliance.
If it’s a straightforward replacement where the opening is already there and in good condition, an experienced team can often get the whole job done and dusted in a single day. We always aim to minimise the disruption to your home.
However, if we’re talking about a more complex project with structural changes, it will naturally take longer—perhaps several days. You also have to factor in potential unknowns, like tricky weather conditions or discovering the existing brickwork isn’t in great shape once we start.
This is a great question. Aluminium is an incredibly strong material, and its biggest advantage is that it allows for much, much slimmer frames. This is a game-changer because it maximises the amount of glass, giving you bigger, more sweeping views and a really clean, modern aesthetic.
On top of that, aluminium is exceptionally durable. It won’t warp or fade over time and can be powder-coated in a massive range of colours. While uPVC is often the more wallet-friendly choice, aluminium delivers far superior longevity and that premium, high-end finish that really stands the test of time.
Ready to transform your home with stunning, high-quality glass features? The team at Glass Tech has over 20 years of experience designing and installing beautiful glass sliding doors across Yorkshire and beyond. Explore our services and get a quote today!
A professional team of experts providing glass and glazing solutions covering the whole of Yorkshire & more...
Whether it's Leeds, York, North Yorkshire, Birmingham, Hull, Liverpool, Machester, Newcastle or Nottingham, get in touch to find out how we can help you with your bespoke glass project.