
A painted white staircase is one of the most effective ways to instantly brighten your home, making hallways feel larger and far more welcoming. It's a classic design choice for a reason, providing a clean, versatile backdrop that complements any interior style, from the most traditional to the ultra-modern.
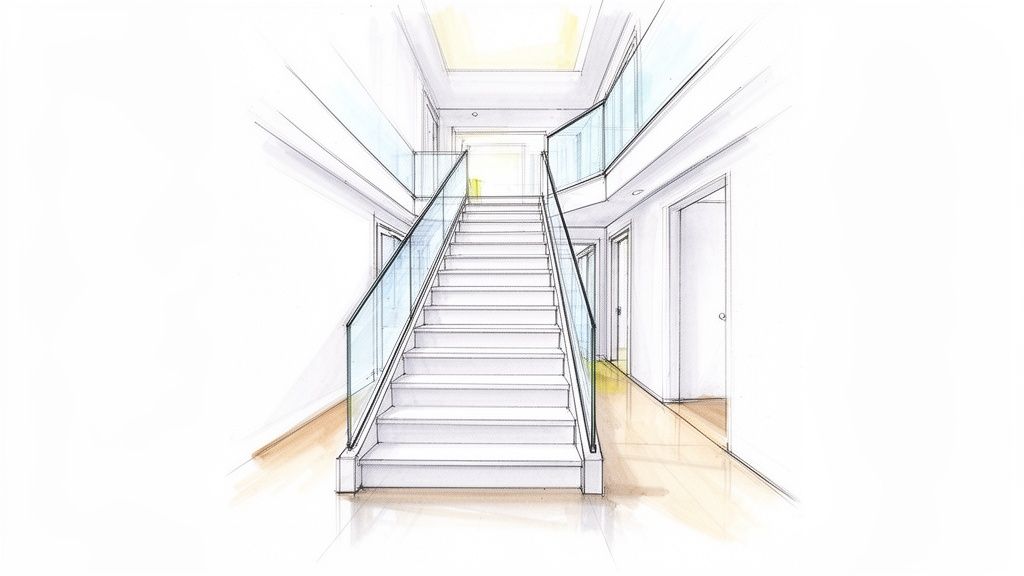
Think of your staircase not just as a way to get from one floor to the next, but as a major architectural feature. All too often, a dark, dated, or worn-out staircase can completely dominate an entrance hall, absorbing light and making the space feel cramped and gloomy. The decision to paint it white is a powerful design move that delivers an immediate and striking improvement.
The main benefit, of course, is the sheer increase in brightness. White reflects light far more effectively than dark wood or tired old carpet, instantly lifting the atmosphere of what is often a windowless part of the house. This creates a brilliant illusion of space, making your hallway and landing feel more expansive and inviting from the moment you step through the door.
A freshly painted white staircase is essentially a blank canvas, giving you incredible stylistic freedom. It provides a crisp, clean foundation that allows all the other design elements in your hall to truly shine. This versatility is exactly why it's remained so popular with homeowners and interior designers for decades.
Beyond the aesthetics, it's also worth considering the practical side of maintaining a white finish, which is well-covered in this guide on Painting Hardwood Floors White: Pros, Cons, and How-To.
One of the most popular modern pairings we see is a painted white staircase with sleek glass balustrades. This combination has become a hallmark of high-end home design, frequently seen in property renovations across the UK. The transparent panels allow light to flow completely unobstructed, amplifying the brightening effect of the white paint. The result is a clean, airy and sophisticated look that marries a traditional structure with contemporary materials.
This kind of strategic upgrade does more than just look good; it adds tangible value to your property. By enhancing the architectural lines and modernising the space, a well-executed staircase renovation is always a sound investment.
The UK home improvement market, valued at £11.2 billion in 2024, certainly reflects this. With staircase renovations typically costing between £1,500 and £2,500, it's clear homeowners are prioritising design-focused upgrades that make a real, lasting impact. You can get a feel for what’s possible by looking at these inspiring staircase renovation before-and-after projects.
Getting that perfect, durable white finish on your staircase is all about the prep work. Honestly, the quality of the job is decided long before you ever dip a brush in the paint. Taking the time to properly plan your project and gather the right kit will save you a world of frustration, not to mention extra trips to the DIY shop.
Think of it as the foundation. A solid plan keeps the job on track and on budget, turning what could be a stressful ordeal into a genuinely satisfying project.
This is the most critical decision you'll make. A staircase is a high-traffic, high-impact area, and your average emulsion just won't cut it. You need specific products designed to take a beating.
For the Treads: These are the workhorses of your staircase. You absolutely need a paint that's built for durability and scuff resistance. We always recommend a specialised floor paint or a modern, water-based satinwood that is explicitly marked as 'hard-wearing' or 'scrubbable'. They're formulated to handle daily foot traffic, which is vital for a lasting finish.
For Risers, Spindles, and Strings: These vertical surfaces have an easier life. A quality interior eggshell or satinwood is ideal here. They offer a lovely, subtle sheen that’s easy to wipe clean without being overly glossy and showing every mark. If you’re looking for a great shade, Benjamin Moore's Cloud White or Cotton Balls give a soft, warm white that isn’t too stark or clinical.
For the Handrail: The handrail needs to be tough, but it also has to feel good to the touch. We find a durable satinwood is a much better choice than high-gloss, which can sometimes feel a bit sticky and shows up every single fingerprint.
Primer is just as important. It seals the wood, stops old stains or tannins from bleeding through your new white paint, and gives the topcoat a solid base to adhere to. For brand new, bare wood, a standard wood primer-undercoat will do the job. However, if you're painting over old varnish or paint, you must use a high-adhesion or stain-blocking primer. Skipping this step is a recipe for chipping and poor coverage.
Before you start, gathering everything you need will make the entire process smoother. Here's a checklist of the tools and materials we rely on for a professional-grade finish.
| Category | Item | Expert Tip |
|---|---|---|
| Preparation | Sugar Soap & Sponges | The best way to cut through years of grime and grease. |
| Sandpaper (various grits) | Use 80-grit for stripping old finishes and 120-grit for a fine, smooth surface. | |
| Wood Filler | For filling any nicks, dents, or old screw holes. | |
| Masking Tape | Invest in a quality brand like FrogTape for razor-sharp lines without any paint bleed. | |
| Painting | High-Adhesion Primer | Essential for painting over previously varnished or painted surfaces. |
| Hard-Wearing Floor/Satinwood Paint | Your topcoat for the treads and handrail. | |
| Eggshell/Satinwood Paint | For the risers, spindles, and strings. | |
| High-Quality Brushes | A good 1.5-inch angled brush is perfect for cutting in around edges and spindles. | |
| Mini-Rollers & Tray | Excellent for getting a smooth, even finish on the flat surfaces of treads and risers. | |
| Safety & Clean-Up | Dust Sheets or Plastic Sheeting | Protect your floors and surrounding furniture thoroughly. |
| Dust Mask & Goggles | Crucial, especially during the sanding phase. | |
| White Spirit or Brush Cleaner | For cleaning oil-based paints, though water is fine for most modern satinwoods. |
Having this kit ready to go means you can work efficiently without any frustrating interruptions.
One of the most common pitfalls we see is people underestimating the time involved. This isn't a job you can knock out in a single afternoon. The drying times between coats are non-negotiable.
For a typical 13-step staircase, a realistic timeline would be:
When budgeting for paint, a good rule of thumb is that one litre covers roughly 12 square metres. Measure the area of your treads, risers, and spindles, and always buy a little more than you think you’ll need for inevitable touch-ups down the line. For a much deeper look into staircase transformations, you can learn more about refurbishing a staircase in our detailed guide.
Remember, the quality of your finish is directly tied to the quality of your tools. Investing in good brushes and proper masking tape will absolutely pay off in the final appearance, giving you those crisp, professional lines that make all the difference.
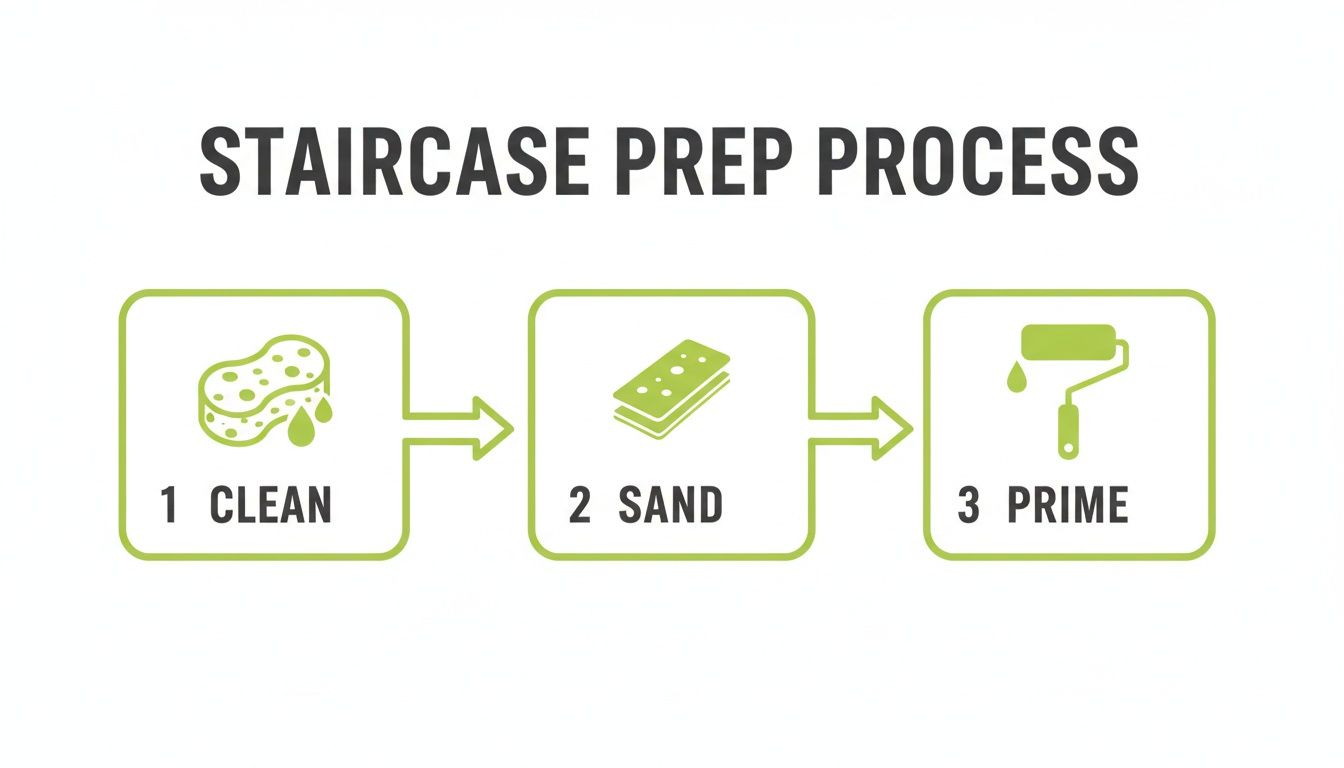
I’ve lost count of the number of staircase projects I've worked on, and I can tell you this: a stunning, professional-looking paint finish is 90% preparation and only 10% painting. It’s a simple truth of the trade. This is the unglamorous but absolutely essential stage where the final quality is decided.
Rushing the prep is the single biggest mistake you can make. The effort you invest now will pay you back tenfold with a smooth, durable finish that looks fantastic for years to come.
Before you even think about picking up a sander, it’s a good idea to clear the decks. A tidy, empty hallway makes for a safer and more efficient workspace. The process is very similar to getting a room ready for new flooring, and this guide on preparing your home for floor refinishing offers some brilliant, transferable tips.
With your space ready, the real work begins.
Your staircase puts up with a lot. Think of all the greasy handprints on the handrail, the scuffs, and the dirt trodden into the treads over the years. Paint simply won’t stick to a grimy surface, so giving it a proper deep clean is your first non-negotiable task.
Sugar soap is your best friend here. Mix it with warm water according to the packet instructions and get scrubbing. Use a sponge to wash down every single part of the staircase—treads, risers, spindles, the handrail, and the stringer board along the wall. Pay special attention to the handrail and newel posts; they’re the high-contact zones that gather the most grime.
Once you’re done, rinse it all down with a cloth and clean water to get rid of any soap residue, then let it dry completely.
Sanding isn’t about stripping the whole thing back to bare wood. The goal is to create a ‘key’—a slightly roughened surface that the primer and paint can physically grip onto. This is absolutely vital for preventing chipping and peeling down the line, especially if you're painting over an old varnish or gloss finish.
Choosing the right sandpaper makes all the difference:
Make sure you always sand in the direction of the wood grain. Afterwards, your staircase will be covered in fine dust. Grab a vacuum with a brush attachment to get the worst of it, then follow up with a tack cloth or a slightly damp microfibre cloth to wipe down every surface. You want it to be surgically clean.
Takeaway Tip: A proper sanding job is what separates an amateur-looking project from a professional one. It guarantees the paint will stick properly, which is crucial for high-traffic areas like the treads. Don't even think about skipping this.
With the staircase clean and sanded, every little dent, crack, and old nail hole will suddenly become obvious. Now is the time to deal with them. Using a good-quality wood filler and a flexible putty knife, go over the entire staircase and fill any of these small imperfections.
Be sure to overfill the holes just slightly, as most fillers shrink a little as they dry. Once the filler is completely hard (check the tin for drying times), sand the repaired spots with your 120-grit paper until they are perfectly flush with the wood. You shouldn’t be able to feel the repair with your fingertips.
The secret to those satisfyingly sharp paint lines is all in the masking. This is not the place to save a few quid on cheap tape. A quality brand like FrogTape is well worth the small extra investment; it creates a much better seal and stops paint from bleeding underneath.
Carefully run your tape along the wall where it meets the staircase stringer, and along the floor at the bottom of the risers. If you have carpet, use a wide putty knife to push the edge of the tape down deep between the carpet and the wood. This creates a solid barrier to protect the carpet fibres. Finally, run your finger or a credit card along the edge of the tape to burnish it down and seal it tight.
Now, with all that careful preparation done, your staircase is the perfect canvas, ready for the first coat of primer.
With the prep work done, this is where the magic happens. It’s time to start painting, turning your vision for a bright, elegant painted white staircase into a stunning reality. But getting that flawless, professional finish isn't about rushing. It’s about being methodical.
Forget any temptation to slap on one thick coat and call it a day. The real secret, and the method we use, is building up several thin, even coats. This approach creates a far tougher, smoother surface that will stand up to daily life without chipping or looking worn.
To avoid the frustration of smudging fresh paint, you need a game plan. Professionals work to a specific sequence to ensure a clean, efficient job. The logic is simple: work from top to bottom, and from the fiddly bits to the large, flat areas.
Here's the sequence we follow on our projects across Yorkshire:
One of the biggest headaches with a staircase renovation is losing access to an entire floor. For a busy home, this just isn't practical. The solution is surprisingly simple: paint every other step.
Start by painting the odd-numbered treads (1, 3, 5, and so on). Let them dry completely, and you can still use the staircase by stepping on the unpainted even ones. Once the first set is fully cured, you can tape them off and paint the rest. It adds a little time to the project, but it keeps your home running without disruption.
Expert Tip: For maximum durability on the treads, you need to let the paint properly cure. It might feel dry to the touch in a few hours, but it needs 48 to 72 hours to fully harden. Be patient here – it's the key to a long-lasting finish that can handle daily foot traffic.
A painted white staircase doesn’t have to be white from top to bottom. While an all-white scheme is undeniably classic and elegant, introducing a second element can create a truly bespoke, designer look.
A very popular combination we see is painting the risers and spindles white but leaving the treads and handrail in their natural timber. This creates a beautiful contrast, grounding the airy white with the warmth of the wood. It’s a look that pairs exceptionally well with the modern glass balustrades we install for clients from Leeds to York who are aiming for a light-filled, contemporary feel.
To pull this off, meticulous masking is non-negotiable. Use high-quality decorator’s tape to protect the edges of the treads and handrail. Those crisp, clean lines are what separate a good DIY job from a great one.
Everyone wants that smooth, almost-sprayed look, completely free of brush marks. And it's absolutely achievable with the right kit and technique.
For the large, flat surfaces like your risers and treads, a high-density foam mini-roller is essential. It lays down a thin, perfectly even coat of paint that a brush simply can't match.
For fiddly areas like the spindles, you'll still need a quality brush. The trick here is a technique called 'laying off'. Once you've applied the paint, lightly glide just the tip of your brush over the wet surface in one long, continuous stroke. This simple move knocks down any brush marks, allowing the paint to level itself out into a beautifully uniform finish. It’s the combination of these two methods that will give your painted white staircase that flawless, professional-grade smoothness.
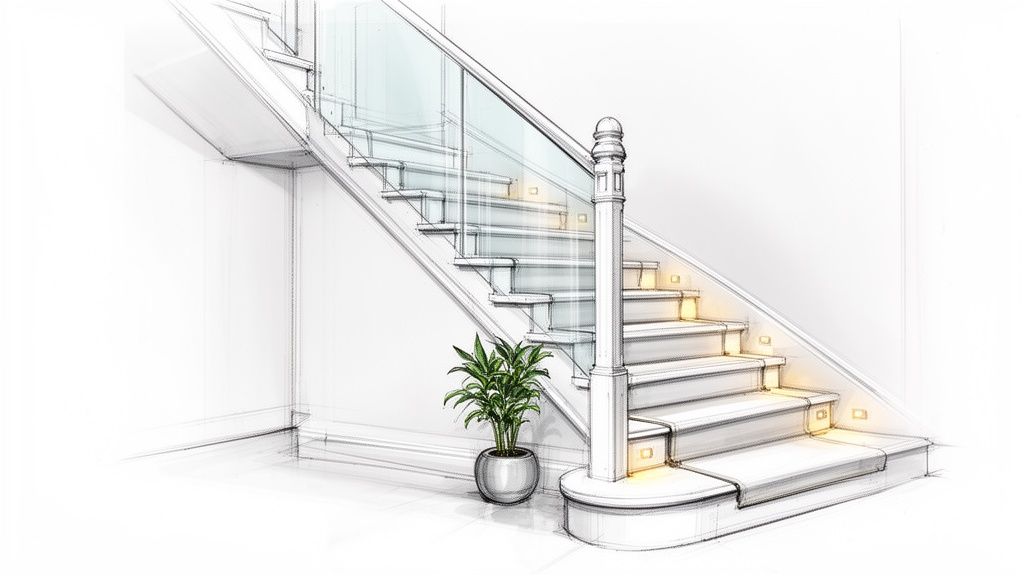
Once the last coat of paint is dry, you’re not just left with a clean, white staircase – you’ve created a blank canvas. This is where the hard work pays off, and you can begin turning a functional element into a genuine architectural feature that defines your hallway.
The choices you make now are all about character. From a sharp, contemporary upgrade to adding softer, textural touches, let's look at how to accessorise your new staircase to get that perfect, polished look.
If you want to make a serious design statement, pairing your white-painted timber with a sleek glass balustrade is the way to go. This combination is a signature of modern home design, and we see it specified constantly in renovations across Yorkshire for one simple reason: it transforms how light moves through a space. Projects specifying Glass Balustrades Yorkshire and Glass Balustrades Newcastle are on the rise for this very reason.
Traditional wooden spindles often fence in a hallway, casting shadows and making the area feel darker and smaller. By contrast, frameless glass panels let light pour through, amplifying the fresh, bright feel of the white paint. The result is an open, airy, and undeniably high-end aesthetic.
This isn’t just a passing fad. Recent analysis shows a huge shift toward turning staircases into focal points, with open-plan designs and glass becoming highly sought-after features. You can explore a gallery of completed feature staircase projects to see just how effective this combination can be.
A fully painted staircase looks fantastic, but adding a runner can introduce a welcome layer of colour, warmth, and comfort. It's a brilliant compromise, allowing you to protect the busiest central part of the treads while still showing off the crisp white painted finish on either side.
A runner can completely alter the personality of your staircase:
It’s all about the contrast. A sharp charcoal runner against the brilliant white steps creates a distinctly modern look, whereas a bold pattern can inject some real personality right at the heart of your home.
A stair runner is more than just a decorative choice; it's a practical one. It provides better grip, reduces noise from foot traffic, and protects the paintwork on the most heavily used part of your stairs, extending the life of your finish.
It’s often the small, final details that pull a whole project together and give it that professionally finished feel. Once the main styling is decided, take a look at these smaller upgrades.
Newel Post Caps
Your newel posts are the structural and visual anchors of the balustrade. Simply swapping out a dated or plain newel cap is a fast, low-cost job with a surprisingly big impact. A flat cap in polished chrome gives a clean, modern finish, while an elegant oak ball or acorn cap can add a traditional, quality touch.
Subtle Stair Lighting
For a truly high-end finish, nothing beats integrated lighting. Discreet, low-level LED strip lights fitted into the wall stringer or under the bullnose of each tread create a beautiful effect at night. It’s not just for show, either – it’s a brilliant safety feature, offering a soft guide. More than anything, it adds a layer of ambiance that makes the whole space feel custom-designed.
Even with the best-laid plans, it’s completely normal to have a few last-minute questions before you get the tools out for a project this central to your home. We get asked these all the time, so we’ve put together some straight-talking answers to clear up those final bits of uncertainty and give you the confidence to get started.
This is probably the number one worry for anyone thinking about a painted white staircase, but keeping it looking sharp is easier than you might imagine. The secret is little and often.
A quick once-over each week with a soft brush attachment on your vacuum is all it takes to stop dust and grit building up. For the inevitable scuff marks in a busy family home, a damp microfibre cloth with a dab of mild washing-up liquid usually does the trick. It’s vital you steer clear of any abrasive scourers or harsh chemicals, as they’ll strip the sheen from your paintwork in no time.
One of the best bits of advice we can give is to keep a small, clearly labelled tester pot of your exact paint and a little artist's brush tucked away. This way, you can touch in any minor chips as soon as you spot them, keeping the whole staircase looking flawless for years. A couple of good doormats at the top and bottom of the stairs will also work wonders.
Absolutely, but it’s a job that really tests your patience and attention to detail. The difference between an okay DIY job and a brilliant one nearly always comes down to the quality of the prep work. If you’re happy to put in the hours cleaning, sanding everything meticulously, and priming properly, you can get a fantastic, professional-looking result.
Be realistic, though. If your staircase has lots of intricate, fiddly spindles, is in a sorry state to begin with, or you’re just pressed for time, getting a professional in is a smart move. For homeowners across Yorkshire, from Leeds to Sheffield, a good decorator will get the job done efficiently and to a standard that’s tough to match. This is especially true if you’re planning a bigger upgrade at the same time, like adding new glass balustrades.
There isn’t one single "best" paint; you need to choose the right product for the right part of the staircase, as each area faces different challenges.
Treads: These take a real beating every single day. You need an exceptionally tough paint, so look for a dedicated floor paint or a modern satinwood that’s specifically labelled as ‘hard-wearing’ or ‘scrubbable’.
Risers and Spindles: These surfaces don’t get walked on, so they don’t need to be quite as bulletproof. A good quality interior satinwood or eggshell will give you a beautiful, durable finish that’s easy to wipe down.
Handrail: This needs to be tough but also feel good to touch. We find a hard-wearing satinwood is often a much better choice than a high-gloss paint, which can sometimes feel a bit tacky and shows up every single fingerprint.
The most important thing? No matter what topcoat you land on, your success hinges on the primer. Always, always use a quality, high-adhesion primer designed for the surface you're painting. This is what gives your paint job its longevity and stops any old stains from bleeding through your lovely new white. For a soft, classic look that isn't too stark, Benjamin Moore's Cloud White is a brilliant choice.
Yes, you can paint over both, but they require two very different—and non-negotiable—prep jobs first.
If your stairs were carpeted, your first job is to get rid of the old carpet, gripper rods, and every last staple. This can be a tedious task, but it has to be done. Once it's all up, you’ll need to fill any holes with a decent wood filler and sand the whole lot down to create a smooth, even surface for your paint.
For a varnished staircase, you simply can't paint straight on top; the new paint won't have anything to grip onto. You must 'key' the surface by giving it a thorough sanding with medium-grit sandpaper (around 80-grit is perfect) until all the shine is gone. After cleaning away every speck of dust, it's essential you apply a coat of a high-adhesion, stain-blocking primer before you even think about opening your white topcoat.
At Glass Tech, we specialise in transforming homes with contemporary glass features. If you're looking to pair your newly painted staircase with stunning glass balustrades to maximise light and create a modern, high-end feel, we can help. Our team provides expert design, supply, and installation services across Yorkshire and beyond.
Discover our glass balustrade solutions and get a quote today
A professional team of experts providing glass and glazing solutions covering the whole of Yorkshire & more...
Whether it's Leeds, York, North Yorkshire, Birmingham, Hull, Liverpool, Machester, Newcastle or Nottingham, get in touch to find out how we can help you with your bespoke glass project.