
When you're upgrading your home, getting the right fit is everything. Ordering glass cut to size is the secret to moving beyond the limitations of off-the-shelf products, whether you're planning a simple glass tabletop or a full-blown staircase renovation. It’s about specifying the exact dimensions, thickness, and finish you need to get a result that looks truly professional and seamless.
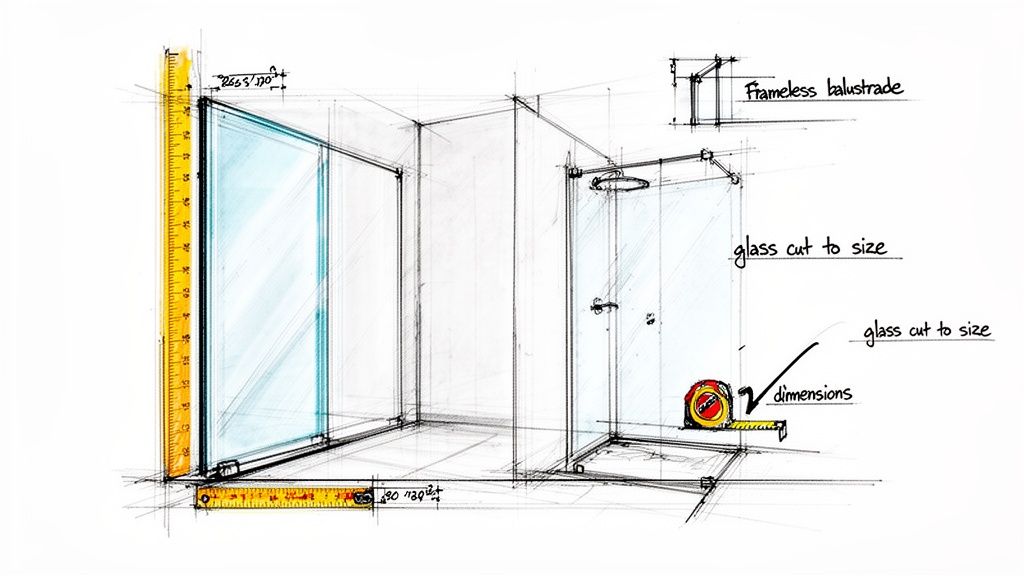
The idea of ordering bespoke glass panels might sound complex, but it's actually far more straightforward than you’d think. From installing frameless glass balustrades in a Yorkshire home to fitting a sleek new shower screen in Newcastle, opting for custom-cut glass is the only way to achieve a high-end, uncompromising finish.
By specifying your exact dimensions, you take complete control of the final look and fit. This guide is here to give you the practical, real-world advice you need—from measuring with confidence to choosing the right glass for the job. With over two decades of experience as a family-run business, we want to share our expertise to help bring your vision to life.
The single biggest benefit of ordering glass cut to size is achieving that flawless fit, one that works with the unique quirks of your home. Standard sizes just can't cope with the slight slopes, uneven walls, or non-standard openings that are common in so many properties.
A perfect fit doesn't just look better; it’s essential for safety and function, especially for features like:
Choosing bespoke glass empowers you to manage your project like a professional. It's the difference between a good result and a stunning one, ensuring every millimetre is accounted for in the final design.
This demand for precision is supported by a robust UK industry. In fact, the wider Glass & Glass Product Manufacturing sector is projected to have a market size of £77.5 billion in 2025, driven by specialists delivering custom solutions for homes nationwide. With our hands-on experience in a huge range of bespoke glass projects, we can help you navigate the options to find the perfect solution for your home.
Choosing the right glass for your project is less about memorising technical specs and more about understanding what you need it to do. It really all comes down to finding the right balance between safety, function, and aesthetics. Getting this right is crucial, whether you’re planning a modern glass balustrade for a garden in Leeds or a sleek new shower screen for a bathroom renovation in Manchester.
You'll quickly find there are two main players in the safety glass world: toughened glass and laminated glass. At a glance, they look identical, but they behave very differently under stress, which is why each one has its specific job.
You might hear this called tempered glass, but it’s the same thing. Toughened glass is a type of safety glass that goes through a special heat treatment process, making it up to five times stronger than normal float glass. Its real party trick, though, is how it breaks. Instead of shattering into long, dangerous shards, it crumbles into small, pebble-like pieces that are far less likely to cause a serious injury.
This is why it's become the go-to choice for so many applications around the home where you need both strength and peace of mind:
For a project where style and safety are equally important, like creating a timeless shower design, picking the right glass is the foundation for a great result.
If you need an even higher level of safety, this is where laminated glass comes in. Think of it as a glass sandwich—it’s made of two or more sheets of glass bonded together with a tough, clear plastic interlayer (usually PVB). When this type of glass breaks, the interlayer does a brilliant job of holding all the fragments in place. The panel stays intact, preventing a dangerous opening from appearing.
You’ll see laminated glass specified wherever containment is absolutely critical. Imagine a glass balustrade on a Juliet balcony in York; if it were to break, laminated glass would remain in its frame, maintaining a safe barrier. This makes it non-negotiable for things like structural glass balustrades, walk-on glass floors, and overhead canopies.
To help you decide, here’s a quick rundown of where you might use each type of glass and the thicknesses to consider.
This table offers a quick comparison to help you select the right glass type and common thickness for various applications around the home.
| Application | Recommended Glass Type | Common Thickness Range | Key Considerations |
|---|---|---|---|
| Shower Screens | Toughened Glass | 8mm, 10mm | 10mm is preferred for frameless designs to ensure rigidity and a quality feel. |
| Tabletops | Toughened Glass | 8mm, 10mm | Thickness depends on the size and what it will support. |
| Shelving | Toughened Glass | 8mm, 10mm, 12mm | Thicker glass is needed for longer spans or heavier items to prevent bowing. |
| Kitchen Splashbacks | Toughened Glass | 6mm, 8mm | Must be toughened to withstand heat from the hob. |
| Balustrades | Toughened Laminated Glass | 10mm, 12mm | Laminated is essential for safety, especially at height. Regulations must be followed. |
| Glass Partitions | Toughened Glass | 10mm, 12mm | Thicker options provide better acoustic performance and a more solid feel. |
| Walk-on Glass Floors | Toughened Laminated Glass | 25mm+ (Multi-laminated) | Must be specified by a structural engineer to meet load-bearing requirements. |
This isn't an exhaustive list, of course, but it covers the most common projects we see. Always double-check with your supplier if you're unsure.
Once you’ve settled on the type of glass, the next decision is its thickness. The most common options for domestic projects are 8mm, 10mm, and 12mm.
The right choice depends entirely on the size of the panel and its job. A small, decorative shelf might be perfectly fine with 8mm glass. But for a large, frameless shower screen or a structural balustrade, you’ll absolutely need the extra rigidity of 10mm or 12mm glass to prevent it from flexing and to ensure it feels solid and stable.
Glass isn't just about safety and function; you also have choices that can completely change the look and feel of your space.
Standard glass has a natural, subtle green tint from the iron content in it. This becomes more obvious on thicker panels and along the polished edges. For most jobs, it’s not an issue. But if you're after perfect colour clarity—say, for a painted kitchen splashback where you want the true paint colour to shine through—then low-iron glass is the answer. It’s exceptionally clear and gives a crisp, high-end finish.
You can also opt for tinted glass in bronze or grey for a stylish, contemporary feel, or choose frosted (acid-etched) glass for privacy in bathrooms and offices without blocking out all the light.
The UK's flat glass manufacturing sector, which provides the raw material for these custom projects, shows consistent demand. Industry revenue grew steadily to an estimated £248.6 million in 2025. However, with only a few major manufacturers left, the expertise of local fabricators who can source, cut, and install your glass becomes even more valuable.
Getting your measurements spot-on is the single most important step in ordering glass cut to size. It’s the foundation of a successful project, preventing costly mistakes and guaranteeing that perfect, professional finish. The old saying ‘measure twice, cut once’ has never been more relevant.
This is the point where your idea becomes a tangible plan. Whether you're sizing up a simple splashback or tackling the complex angles of a staircase balustrade, precision is absolutely key. A high-quality steel tape measure is your best friend here—avoid the flexible or fabric ones, as they can stretch and throw your numbers off.
This simple infographic breaks down the selection process into its three core parts.
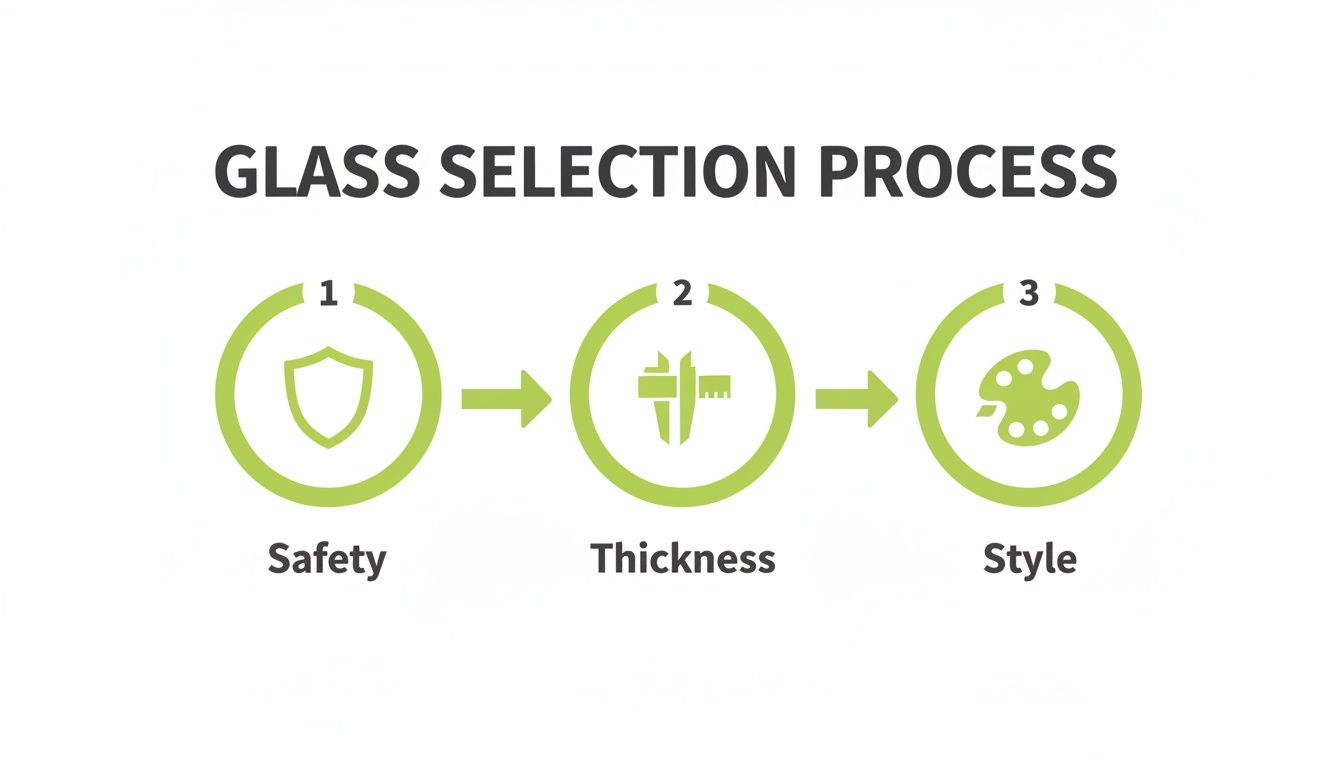
As you can see, you start with safety, then determine the structural thickness, and finally, choose the style. Following this order ensures all the practical needs are met before you get to the aesthetics.
For straightforward rectangular pieces like splashbacks or shelves, begin by measuring the height and width in at least three different places. For the width, check the left, centre, and right. For the height, measure at the top, middle, and bottom.
Don't be surprised if the numbers are slightly different; very few walls or alcoves are perfectly square. When this happens, always use the smallest measurement for your final dimensions. This simple trick ensures the glass panel will fit, even if the space isn't quite true.
A common mistake is just assuming a space is square. To be sure, measure the diagonals from corner to corner. If the two diagonal measurements match, your space is square. If they don't, you might need a custom-shaped piece to get that flawless fit.
When you provide your dimensions, it's also crucial to think about tolerances. We always recommend a small deduction, usually around 2-4mm from your tightest measurement, to allow for installation. This tiny gap gives you just enough wiggle room to manoeuvre the panel into place without forcing it.
Things get a bit more complex when you have obstacles to work around. For a kitchen splashback, you'll need precise measurements for any cut-outs, like those for plug sockets or light switches.
Here’s how to do it:
Taking the time to measure meticulously is also a vital step when planning for custom glass mirrors, as the same principles apply. For a deeper look into this, explore our guide to ordering bespoke mirrors.
What if your walls are particularly uneven, or the angles aren't a standard 90 degrees? This is a common scenario in older Newcastle homes, especially with staircases. In these cases, it’s time to consider making a template.
You can create one from a sturdy material like hardboard or correx sheeting. This physical template can then be offered up to the space to check the fit perfectly before a single piece of glass is even cut. It takes all the guesswork out of complex shapes and guarantees the final product will slot into place exactly as intended—saving you time, money, and a whole lot of frustration.
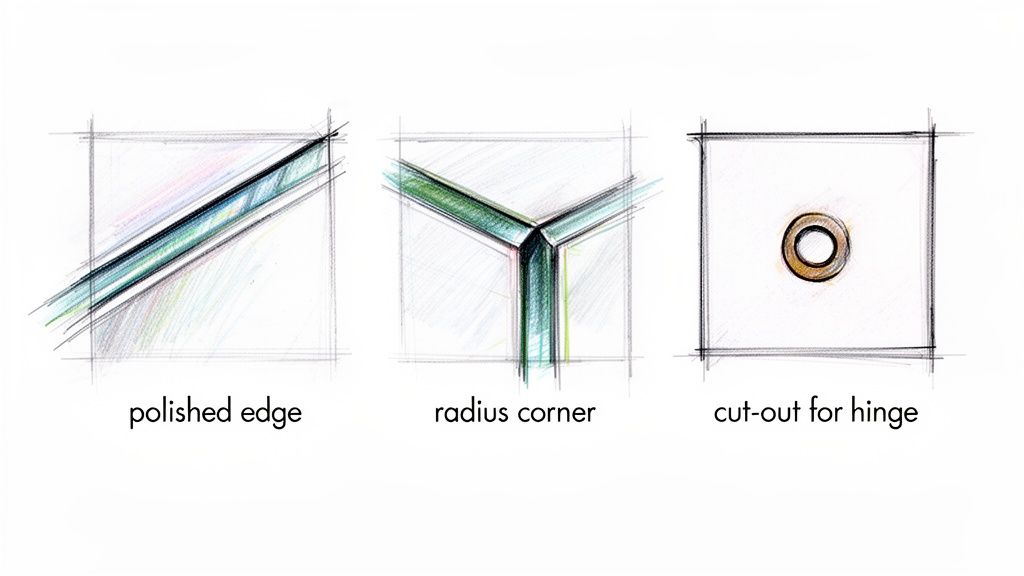
You’ve sorted the glass type and nailed down the measurements. Now it’s time for the details that take a simple piece of glass and turn it into a professionally finished feature. These final touches are what define the overall look, feel, and safety of your project.
For any panel where the edges will be on show—think a glass tabletop, a floating shelf, or a frameless balustrade—a highly polished edge is absolutely essential. This isn’t just a nice-to-have; it's the industry standard. The process smooths and buffs the sharp, cut edges into a crystal-clear, safe-to-touch finish that looks incredibly sleek.
This focus on quality is something we're seeing more and more from UK homeowners. In fact, the market for high-spec windows and doors is set to break £3.5 billion by 2030, which shows just how much people value premium glazing that improves a home’s style and performance. You can discover more insights about this growing market for custom glass solutions.
Beyond a polished edge, you also need to think about the corners. A sharp 90-degree corner can be a real hazard, especially in busy family homes. It's also more vulnerable to getting chipped.
This is where you can specify a couple of key finishes:
My rule of thumb is simple: if you can see and touch the corner, it needs a proper finish. A dubbed or radius corner isn't just about safety; it gives the glass a more considered, bespoke look that elevates the whole project.
One of the biggest advantages of ordering glass cut to size is getting precise holes and cut-outs made for all your fittings. This is a must-have for shower screens needing hinge cut-outs, kitchen splashbacks with sockets, or balustrade panels that need bolt fixings.
Here’s the critical part: all drilling and cutting has to be done before the glass is toughened. Once it goes through the tempering furnace, the glass becomes impossible to alter. Any attempt to drill it afterwards will cause the entire panel to shatter into thousands of pieces.
That means you need to provide the exact location and diameter for every single hole when you place your order. For projects like installing glass balustrades in Yorkshire, getting these measurements spot-on is key to a smooth, secure fit. Always measure from the edges of the panel to the dead centre of where you need the hole. Submitting a simple, clear diagram is always the best way to avoid any miscommunication and guarantee a perfect result.
While plenty of smaller glass projects are perfect for a keen DIYer, some jobs demand a level of precision that goes way beyond a tape measure and a spirit level. You have to know when to step back.
For larger, more complex installations like structural glass balustrades or walk-on glass floors, getting a professional survey and fitting service isn't just a good idea—it's completely non-negotiable. Think of it as a smart investment in safety, compliance, and getting that flawless finish you're after. It’s about making sure the final installation is not only beautiful but also structurally sound, giving you total peace of mind.
The real work starts long before any glass arrives on site. A professional survey is the critical first step where experienced technicians get to grips with every single aspect of the job.
This is much more than just taking a few measurements. Our experts use pinpoint-accurate digital measuring tools to capture every angle and dimension down to the sub-millimetre. They also carry out a crucial assessment of the site’s structural integrity, making sure the fixing points are solid enough to handle the weight of the glass safely. A quick look at how established firms present themselves, like in the announcement of a DP Glass Company's website launch, can give you an idea of the professional standards to look for.
During this visit, the team will:
Once the survey is complete and your custom glass cut to size has been made, the installation can begin. This is where you really see the value of a professional fitting, especially for bigger projects like installing glass balustrades in Newcastle or across the North.
Our teams are properly trained in handling and moving large, heavy glass panels. They use specialist lifting equipment to avoid damage and keep everyone on site safe. They work with meticulous attention to detail, ensuring every panel is perfectly aligned, securely fixed, and finished to the highest possible standard.
A professional installation guarantees that every single component, from the glass panels to the stainless-steel fixings, works together as a complete, engineered system. It removes all the guesswork and risk that comes with trying to DIY a safety-critical feature.
This expert service is your guarantee of a perfect, secure result that will stand the test of time. To see what our teams can achieve, find out more about our dedicated glass balustrade installers and how they deliver exceptional results on projects across Yorkshire and beyond. The whole process is designed to be clean, efficient, and cause minimal disruption, leaving you with a stunning new feature and absolutely nothing to worry about.
To finish up, let's run through some of the questions we get asked all the time. These are the practical bits and pieces that often come up as homeowners start to finalise their plans, and having clear answers can make all the difference.
This really depends on what you're ordering. A simple, rectangular piece of glass with standard polished edges is quite straightforward and usually takes around 7-10 working days to produce.
However, the moment you add a bit of complexity, the timeline naturally extends. If your project needs toughening, special shaping like radius corners, or intricate cut-outs for sockets and hinges, you're looking at something closer to 2-4 weeks. When you place an order with us, whether you're in Leeds, York, or anywhere in the region, we'll always give you a clear and realistic timeline right from the start.
For some jobs, absolutely. If you're a confident and experienced DIYer, fitting smaller, more manageable pieces like a kitchen splashback or a few simple shelves can be a really satisfying project.
That said, for anything safety-critical or just plain heavy, we always recommend getting the professionals in. Think of large glass balustrades or big, frameless shower screens. Our teams, who cover areas like Newcastle and Manchester, have the specialist lifting gear and the know-how to handle the weight safely. More importantly, they have years of experience ensuring a perfect, secure fit that meets all the necessary regulations.
One of the biggest risks with a DIY installation of heavy glass is getting the alignment perfect and the fixings completely secure. A professional not only manages the weight safely but also knows how to adjust for the slight imperfections you find in every wall or floor, guaranteeing a flawless result.
This is a great question, and the honest answer is: it depends on what you value most in the final look. Standard float glass naturally contains iron, which gives it a very subtle green tint. You’ll notice this most along the polished edges, especially on thicker panels.
Low-iron glass, on the other hand, is manufactured to remove almost all of that iron content, giving it exceptional clarity. The result is a crystal-clear, almost invisible finish that lets the true colours behind it shine through.
So, when is it worth it?
Many of our clients feel it’s a worthwhile investment for achieving that truly premium finish. The difference can be subtle, but it's often the small details that give a project that high-end, architectural feel.
Ready to start your project with perfectly measured and beautifully finished glass? The team at Glass Tech has over 20 years of experience delivering bespoke glass solutions across Yorkshire and beyond. Contact us today for expert advice and a no-obligation quote.
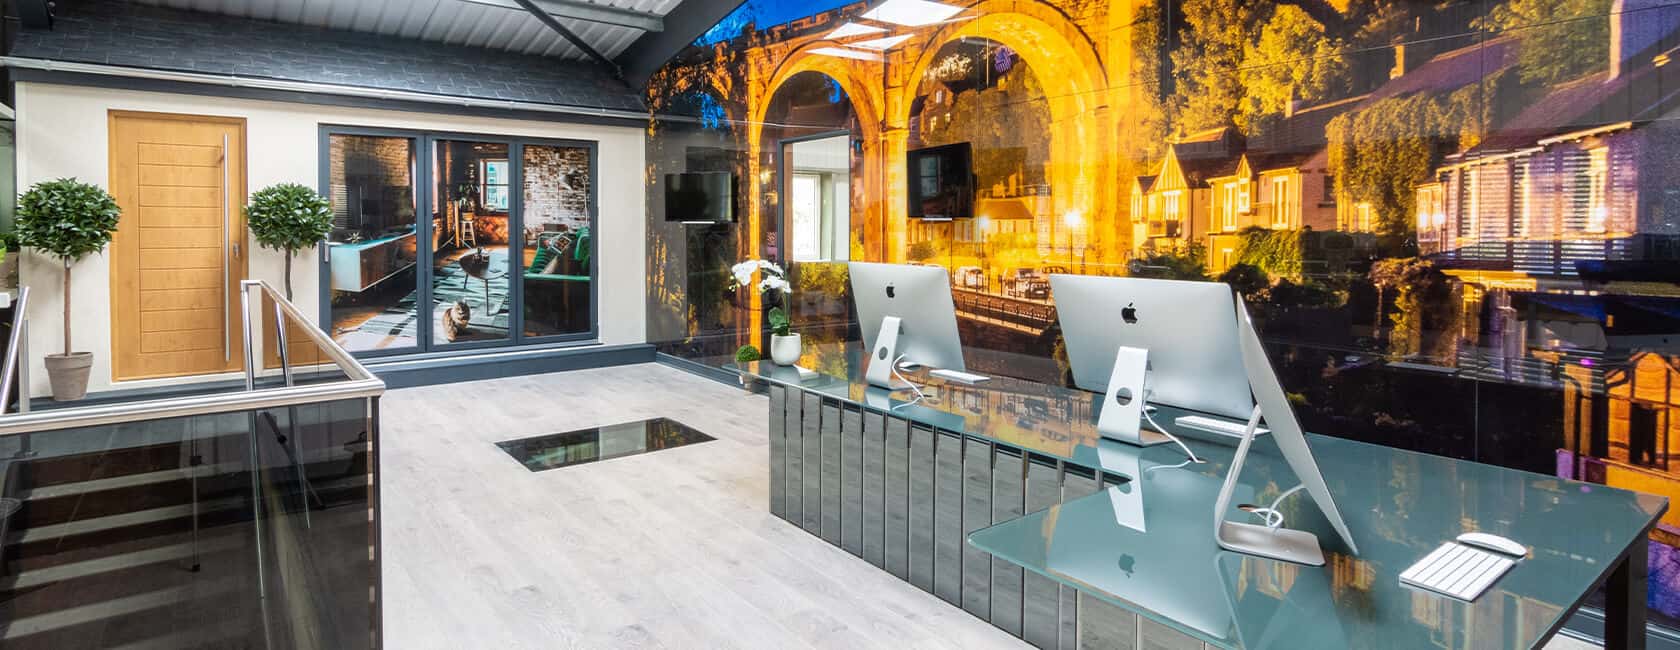
A professional team of experts providing glass and glazing solutions covering the whole of Yorkshire & more...
Whether it's Leeds, York, North Yorkshire, Birmingham, Hull, Liverpool, Machester, Newcastle or Nottingham, get in touch to find out how we can help you with your bespoke glass project.